Who doesn’t love a cute sticker or two to add a little fun to an otherwise boring calendar? I’m talking to you Mr. Ultra-Generic Bank Calendar! Love from the Heartland stickers are design ready to upload to Cricut Design Space for Print-then-Cut or you can just print them on sticker paper and little the kiddos cut them out.
Assorted sticker sheets are already formatted to work with your Cricut cutting machine and the Design Space Print then Cut feature. Download files are in .png format. For complete instructions scroll to the bottom of the page.
Watercolor Christmas
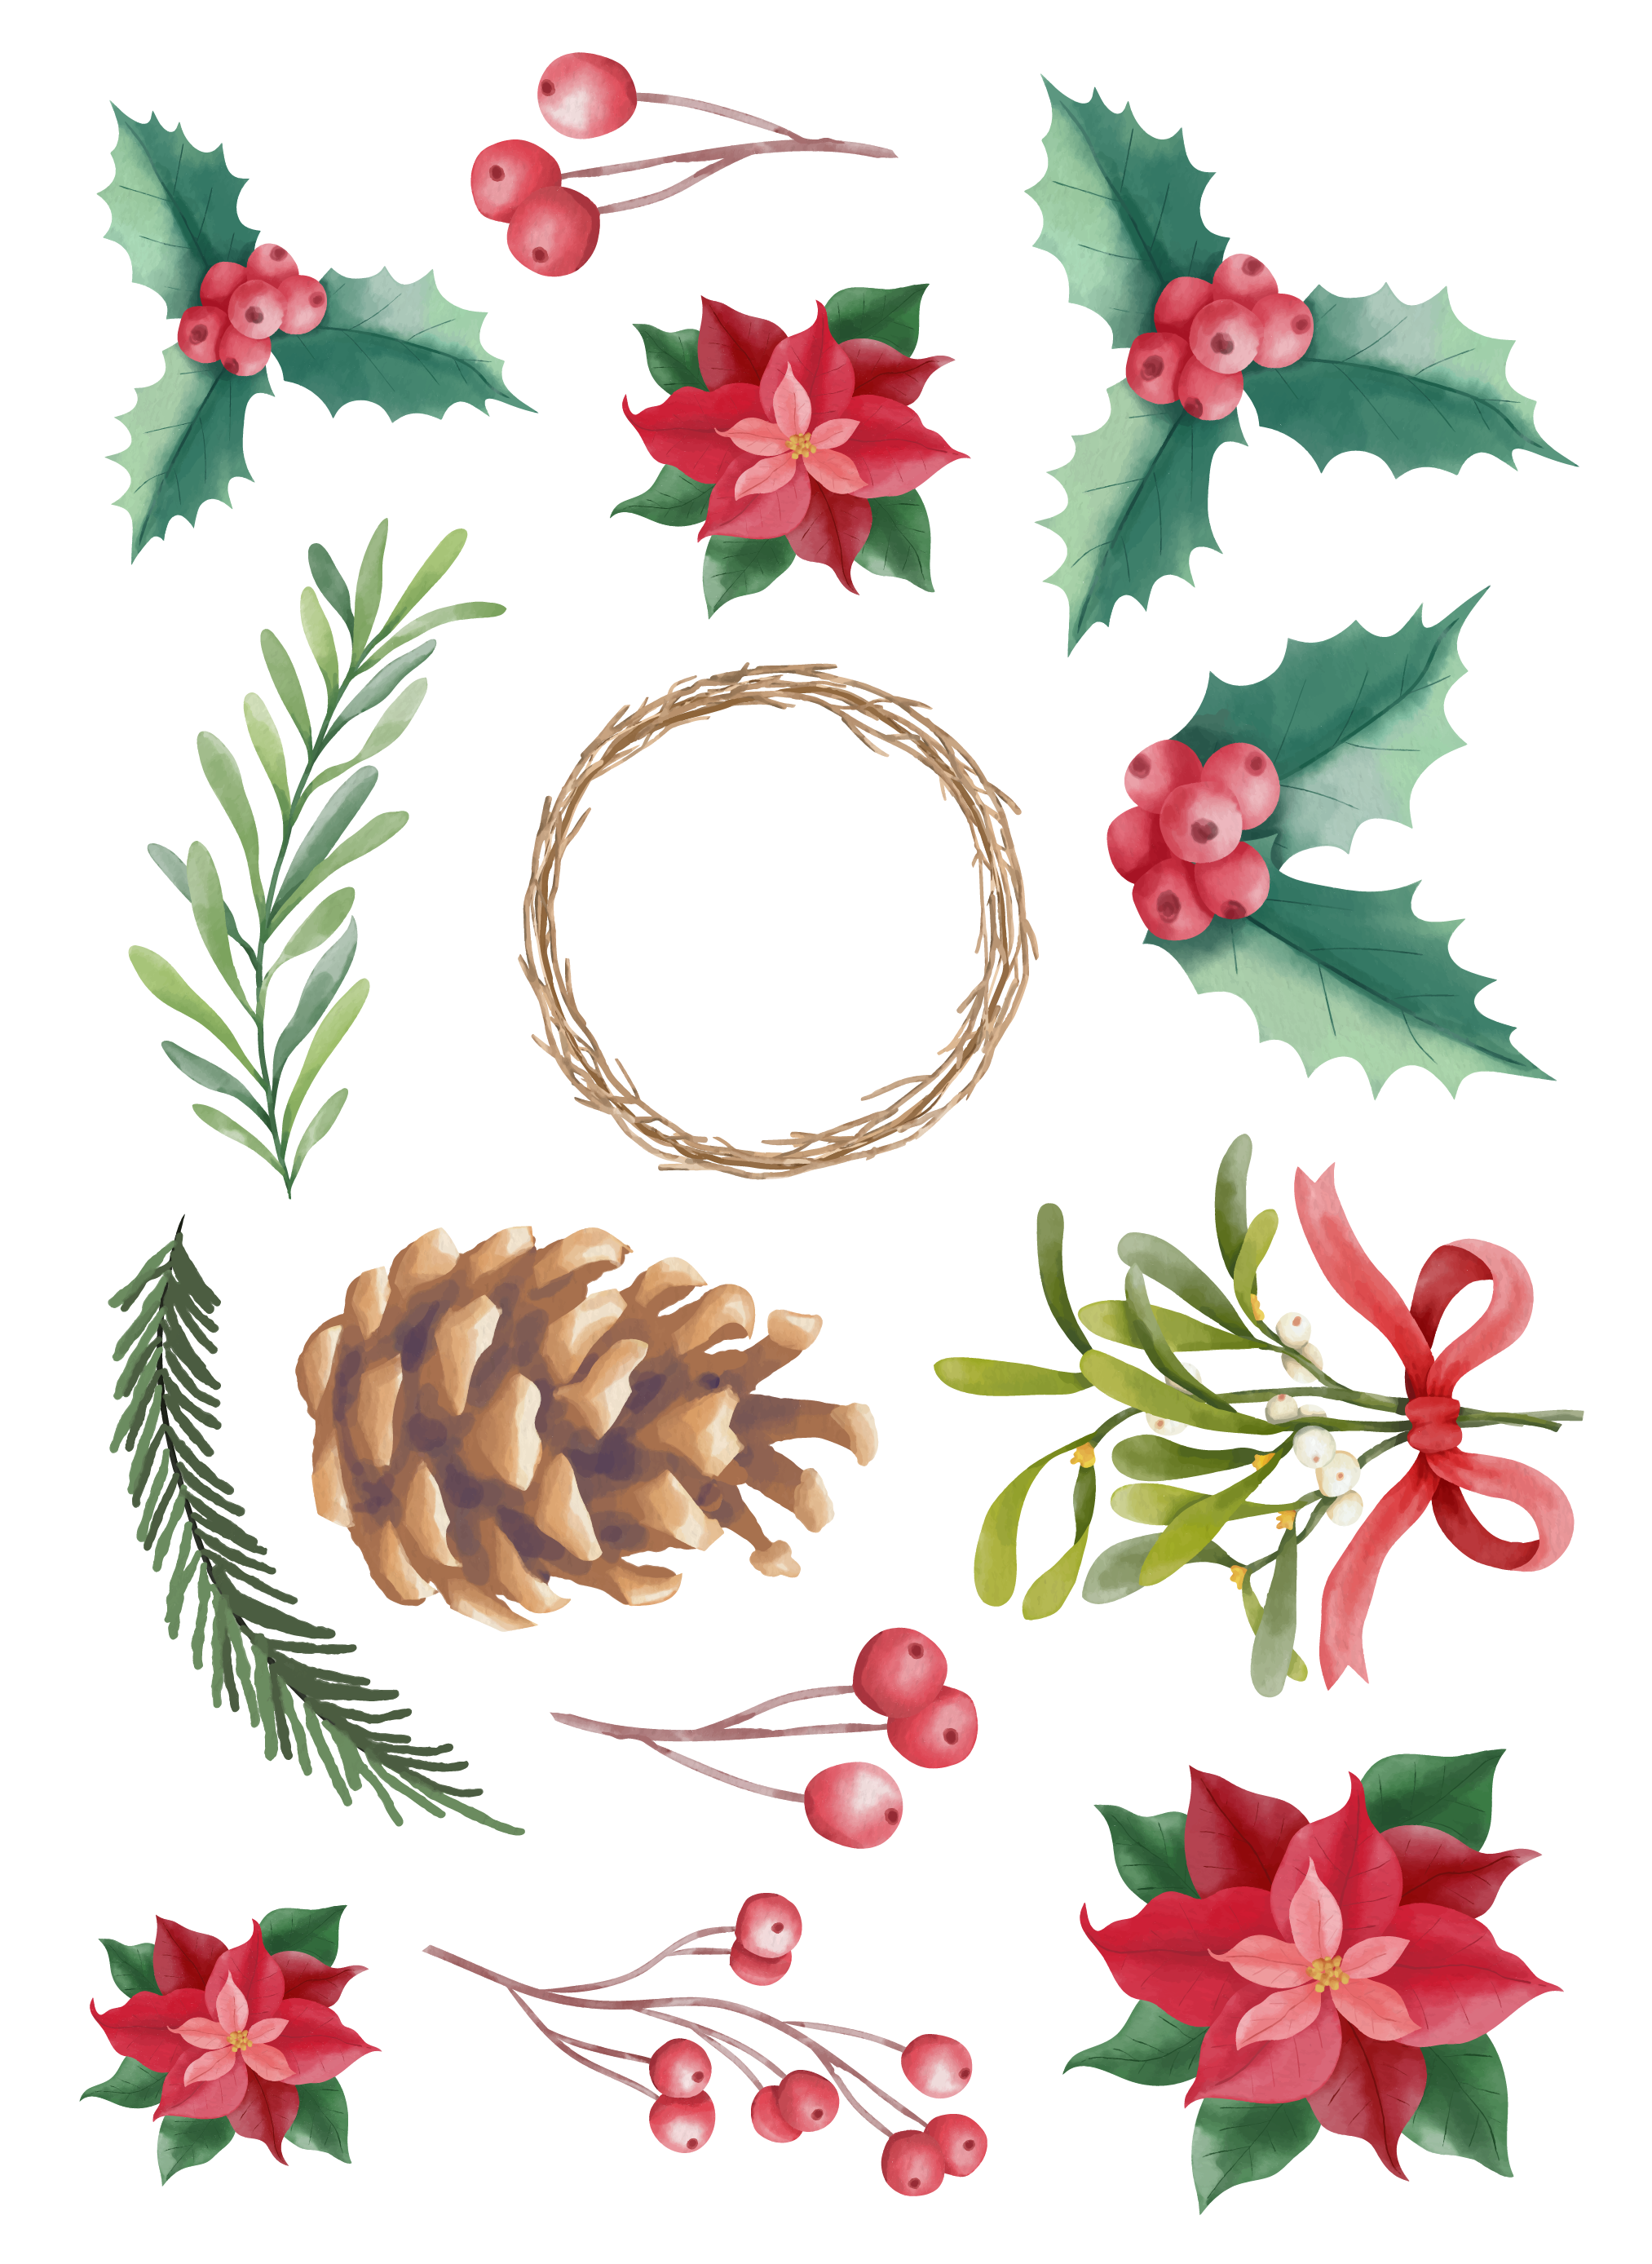


Cute Autumn Animals
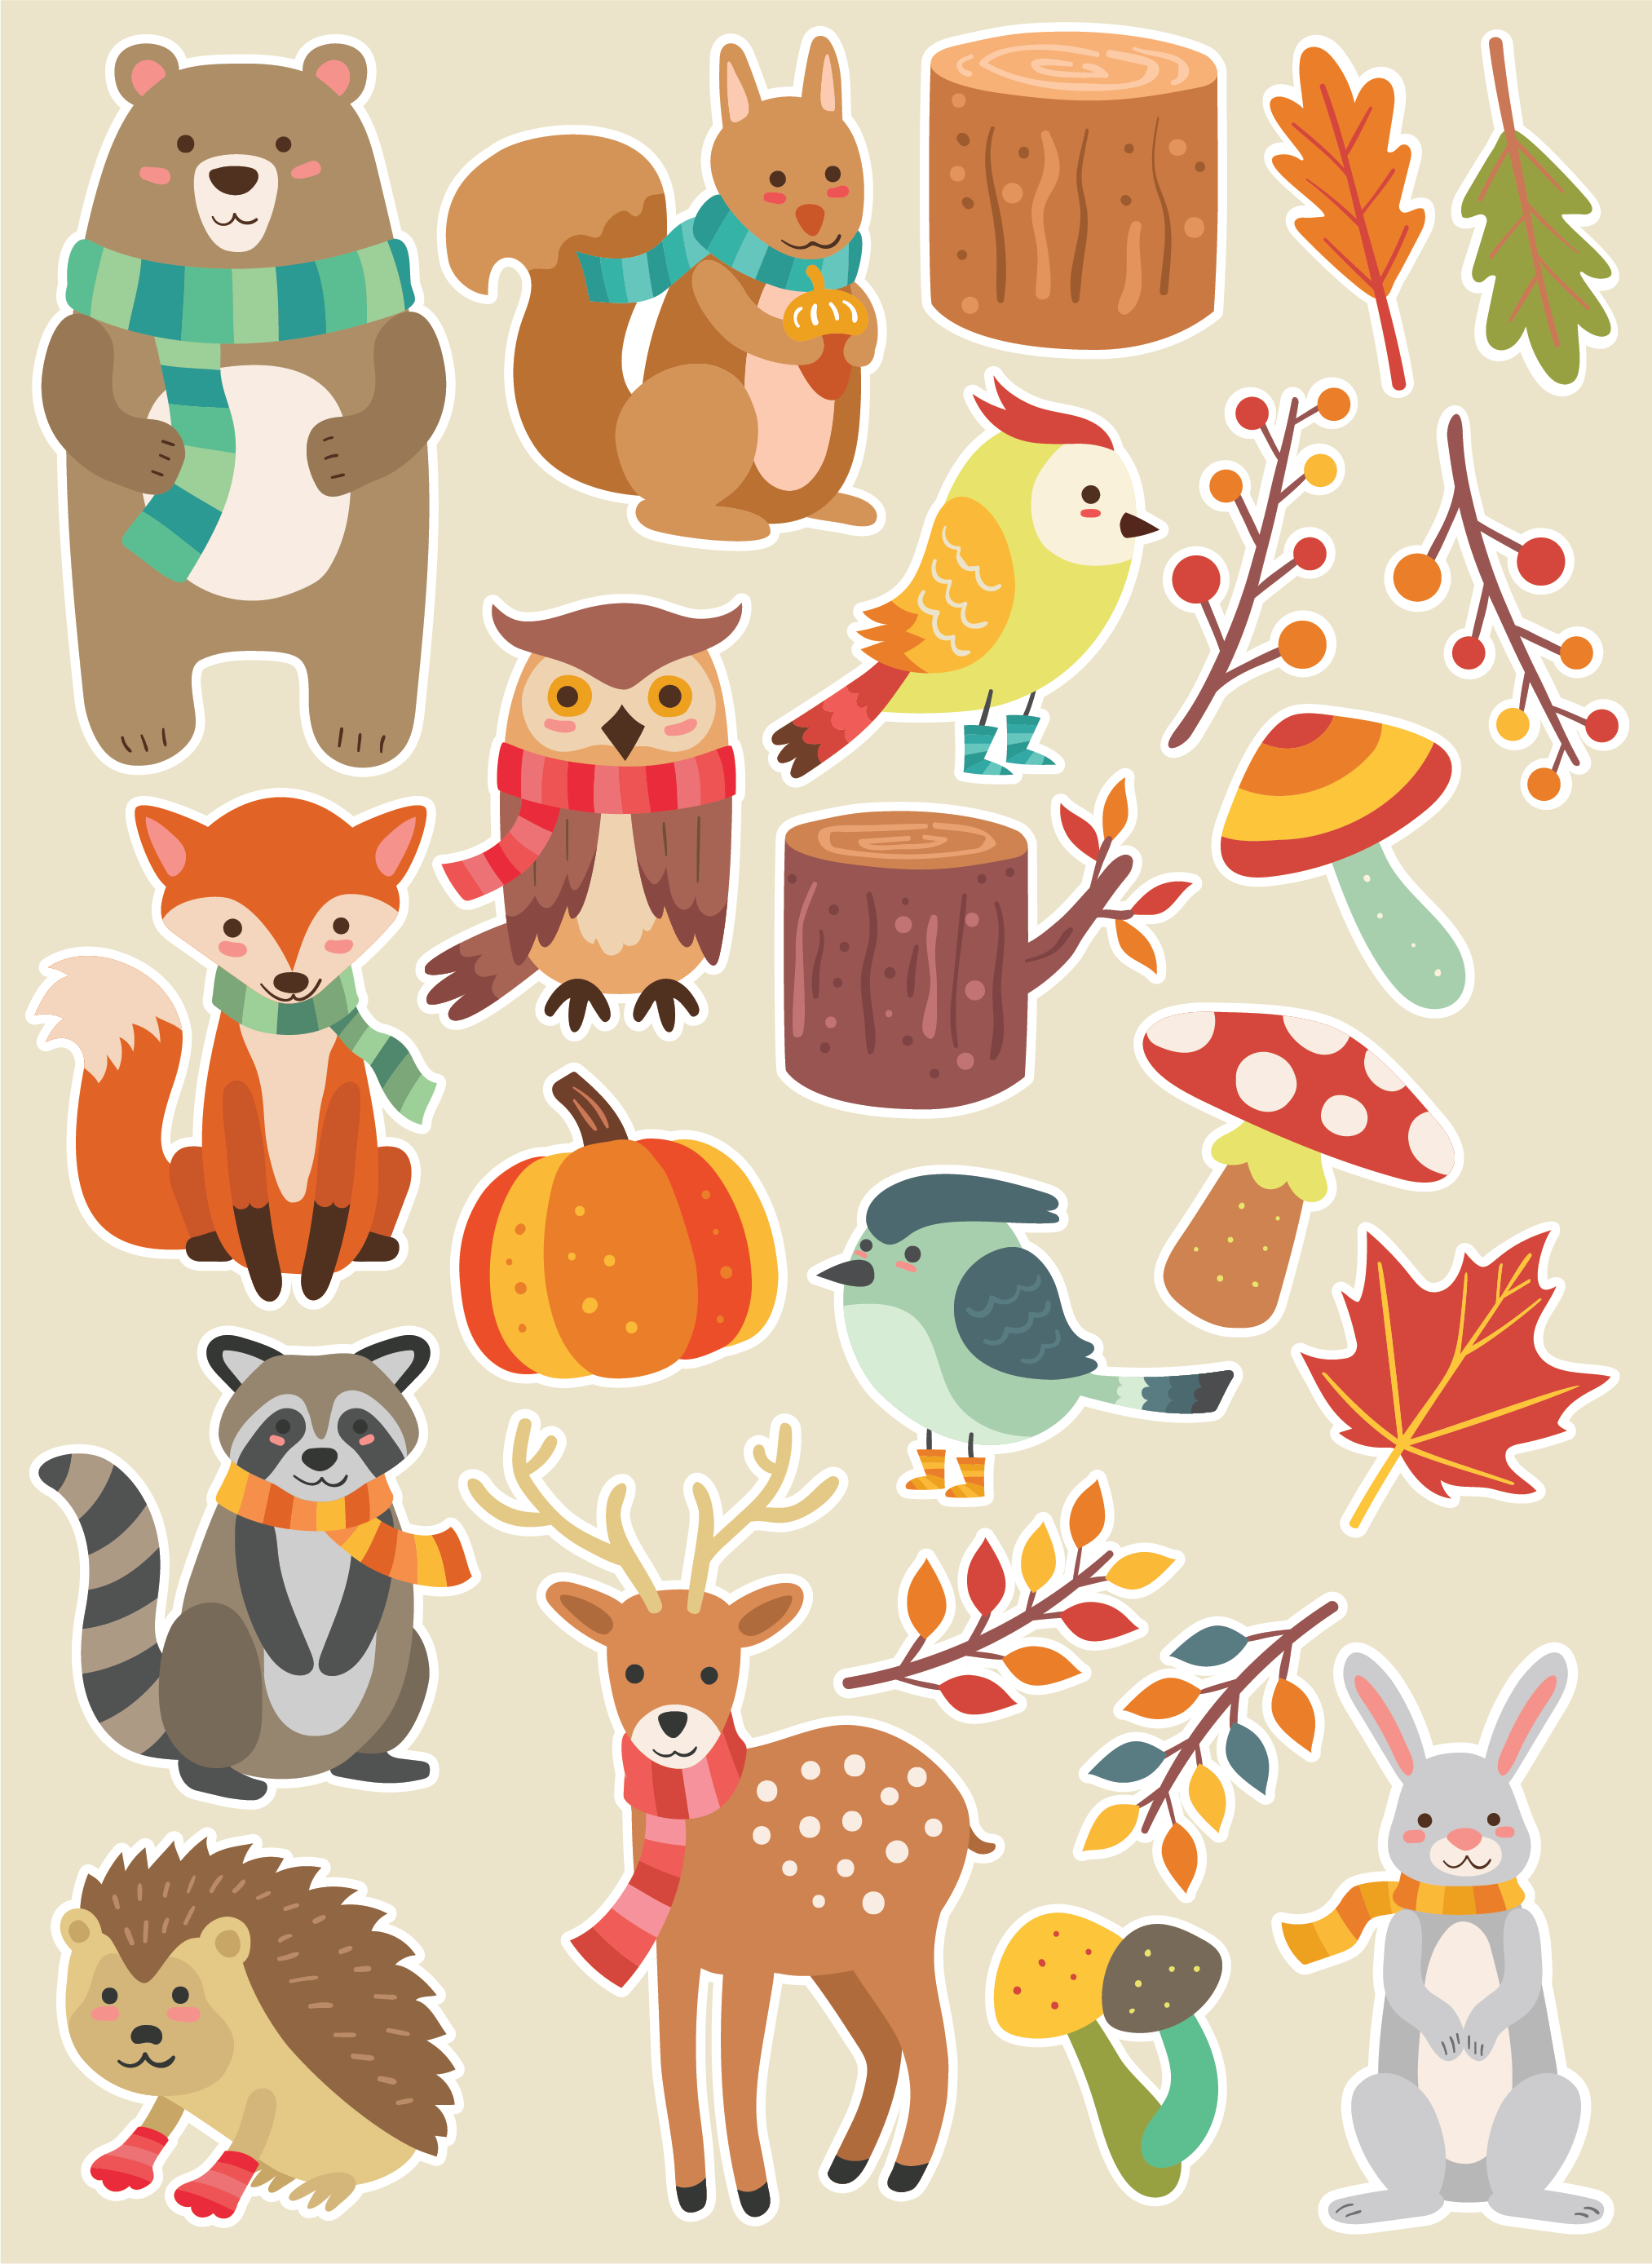


Cricut Upload Instructions
- Download the sticker file from this site and save it where you can easily find it on your computer. Sticker files are provided as .png files for easy upload into Cricut Design Space.
- Open Cricut Design Space and navigate to your projects.
- Click on the Upload button along the left side of the window, then click on the green Upload Image button
- Browse for the png file or drag and drop it into the upload dialog window
- Choose Complex for the image type, then click Continue
- OPTIONAL: you can remove the background that I have included if you wish. There’s no reason to print it but I have provided it in the file so that you have visibility to where the edges of the stickers are. The cut will be along the outside edge of the white border for each of the stickers on the sheet. When you are ready, click Apply & Continue
- Select the image that is set up for Print Then Cut Image
- Give your image a name and tags if desired.
- Click Upload
- Select the image file from your Recent Uploads and Add to Canvas
- Check that your Size parameters at the top of the screen are locked (click on the little lock between the width and height if they aren’t) then change the width to 6.75. This will resize the entire file to fit within the print then cut limit for Cricut. If you still get an error for the size limit, adjust your width accordingly. You should only have to make very slight adjustments.
- Proceed per the usual Print then Cut process